
Introduction
A real estate website is a powerful tool that generates leads, showcases your expertise, and helps you close more deals. Whether you're an independent agent or running a brokerage, your website is often the first impression potential clients have of your business.
Think about how people search for homes today. They're scrolling through listings at midnight, researching neighborhoods during lunch breaks, and comparing agents before ever picking up the phone. If you don't have a website, you're invisible to these potential clients.
Let's walk through exactly how to build a real estate website that actually works for you.
How To Build A Real Estate Website
1. Establish Your Brand Identity First
Before you touch any website builder, you need to nail down your brand strategy and identity. This is the foundation that supports all your marketing efforts, whether that's your website, social media, or print materials. Skipping this step will make everything harder afterward.
You don't need a full advanced brand strategy right away, but you absolutely need a basic brand identity. Who are you as a real estate professional? What makes you different from the hundreds of other agents in your area? What's your mission, and who exactly are you trying to serve?
Define your brand colors, choose fonts that reflect your personality, and create a logo that represents your business. Decide on your messaging and tone. Are you the luxury expert? The first-time homebuyer specialist? The neighborhood guru? Getting clear on this now means your website will feel cohesive and authentic instead of thrown together.
2. Purchase Your Domain Name
Once your branding is complete, it's time to secure your domain name. Your domain is your address on the internet, so choose wisely.
We strongly recommend getting a domain that ends with .com. It's what people expect and remember most easily. Try to keep it short, simple, and related to your name or business. Something like YourNameRealEstate.com or YourCityHomesWithYourName.com works well.
Here's an important tip for brand protection: purchase the same domain name with different endings such as .net, .org, or regional endings like .us or .ca. This prevents competitors or opportunists from snatching up similar domains and confusing your potential clients.
For purchasing domains, we recommend using either GoDaddy or Squarespace Domains. Both platforms make the process straightforward and offer good customer support if you run into issues.
3. Choose Your Website Builder
Now comes the fun part. There are tons of website builder options out there, but we only recommend a few that truly stand out for real estate professionals. Each has different learning curves and capabilities, so choose based on your technical comfort level and needs.

1. Squarespace
Squarespace is our top recommendation if you want the easiest path to a beautiful website. The platform is incredibly user-friendly, with drag-and-drop functionality that makes building a site feel intuitive. Their templates are modern and professional right out of the box, and you can get a great-looking site up and running in a weekend.
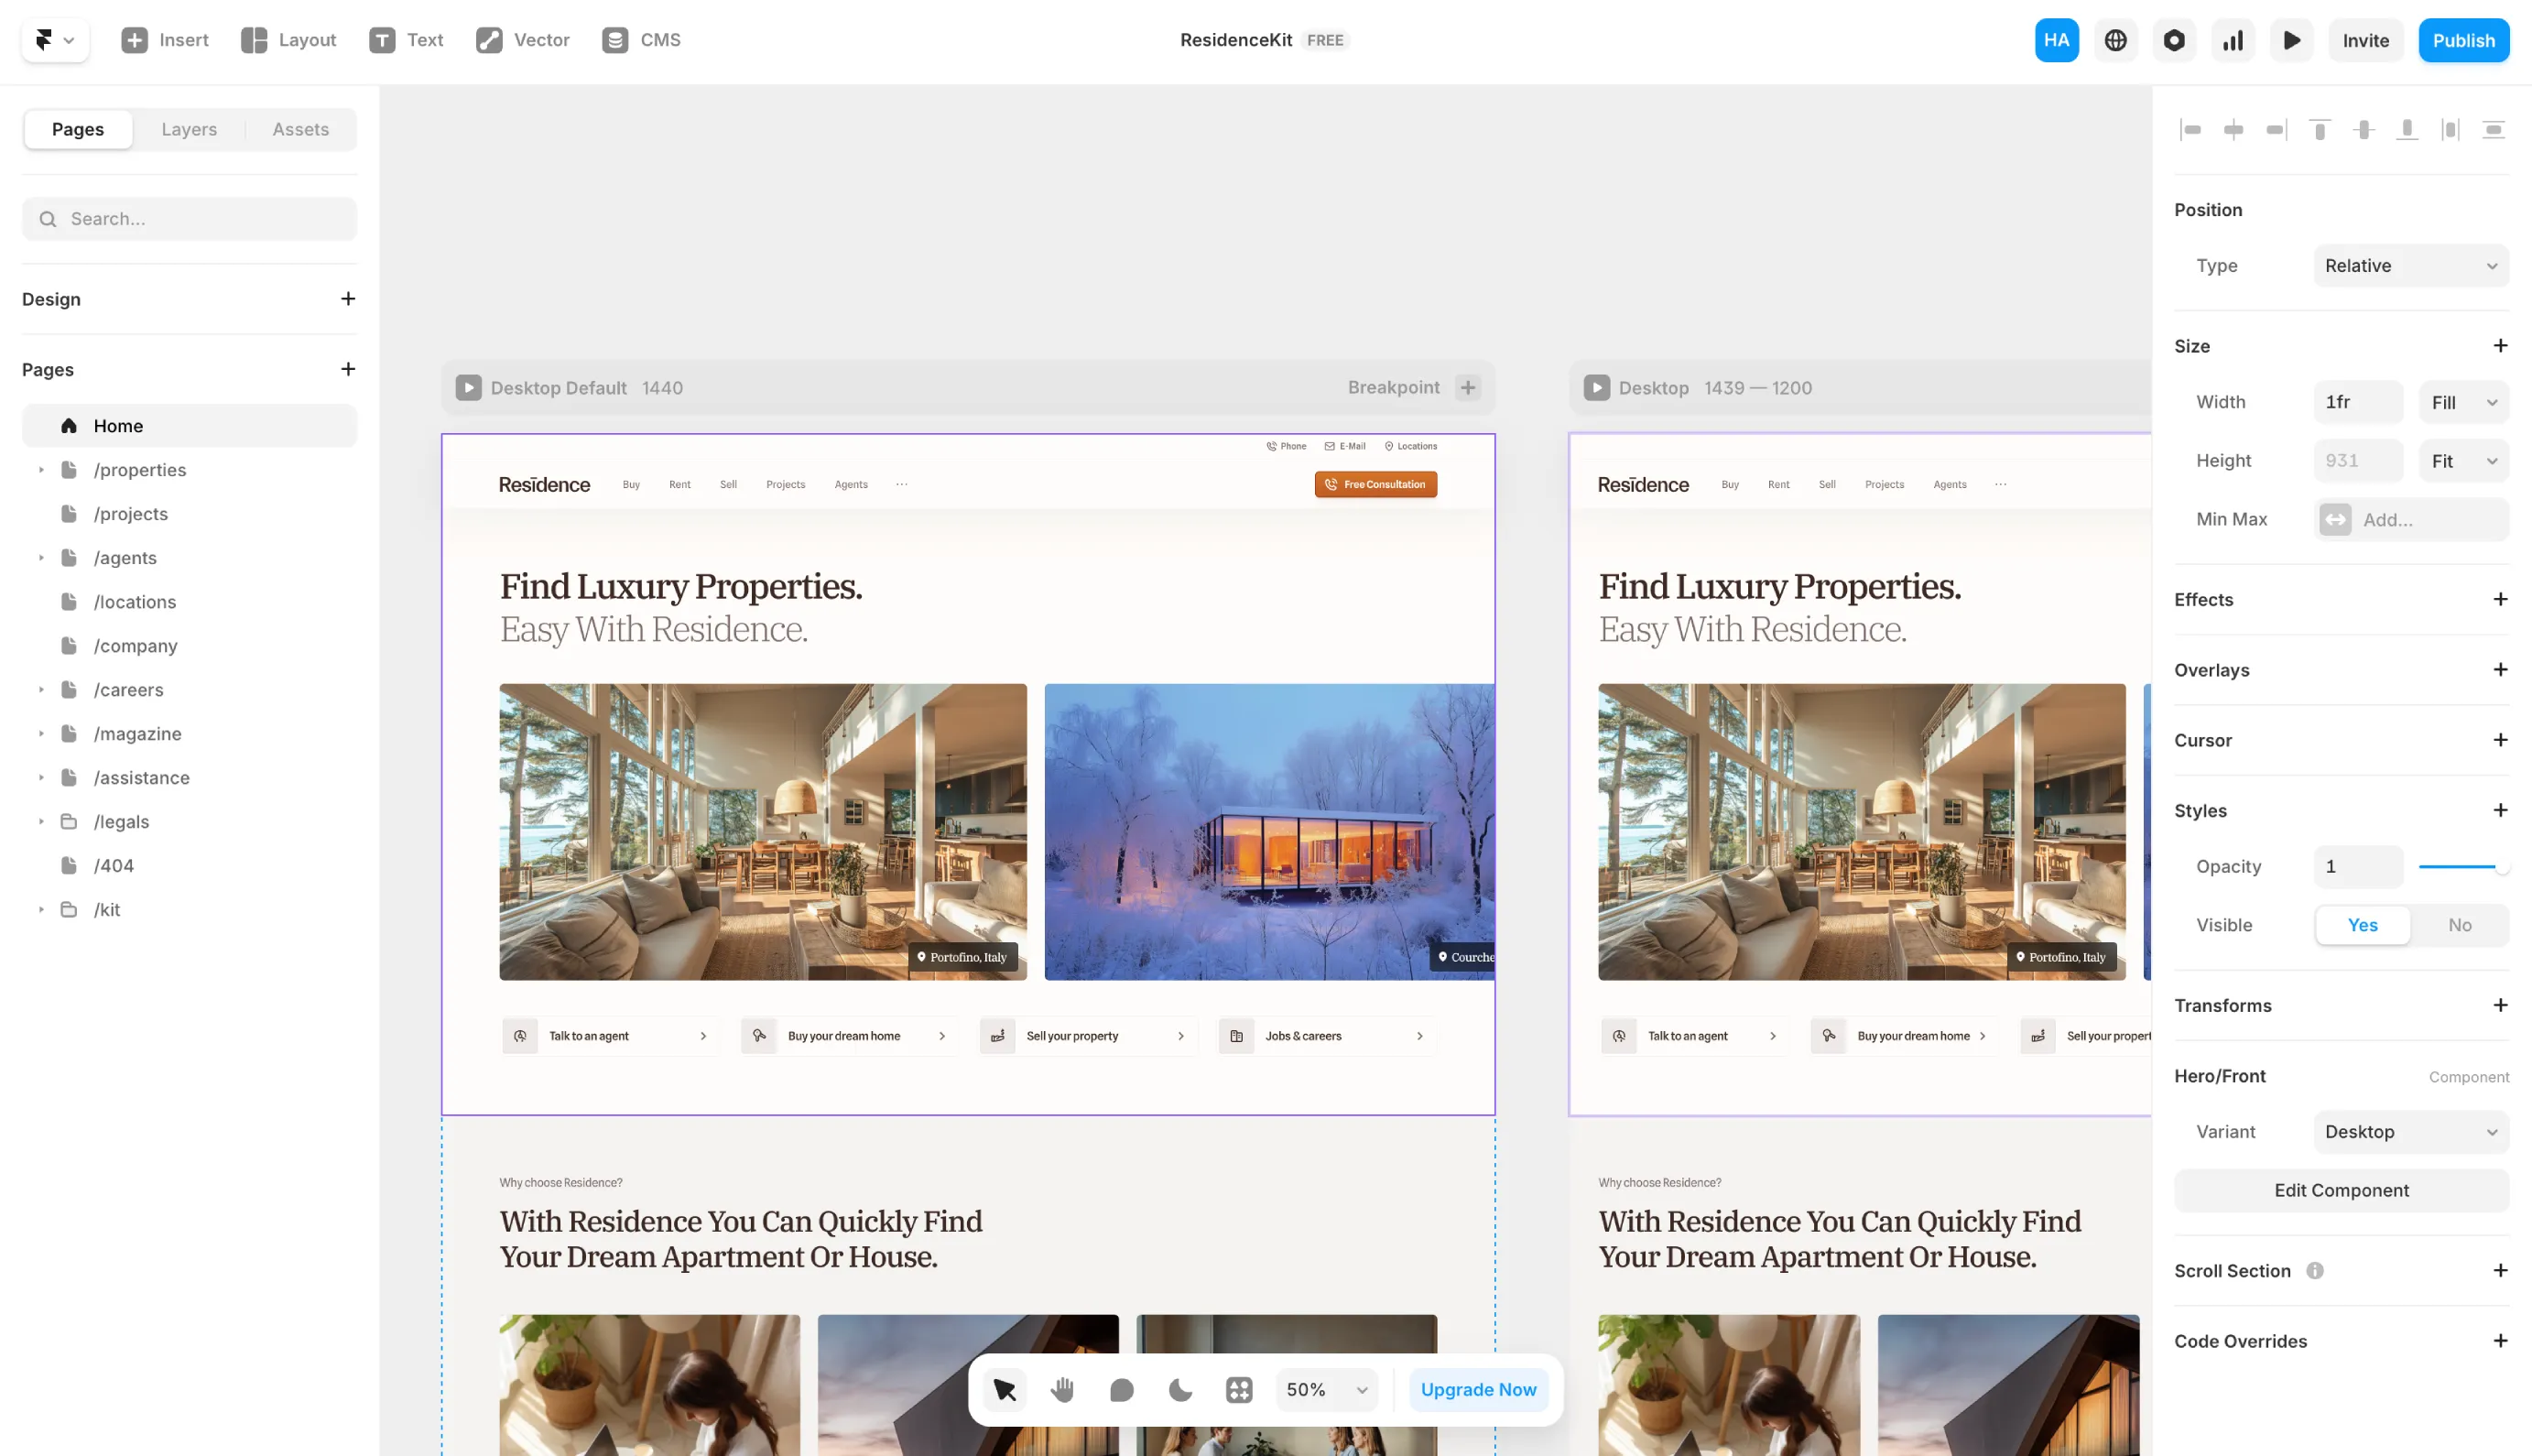
2. Framer
Framer sits in the middle ground. It offers more design flexibility than Squarespace but requires a moderate level of technical understanding. If you're comfortable learning new tools and want more creative control without getting into heavy coding, Framer is an excellent choice.

3. Webflow
Webflow is the most advanced option. It gives you incredible design freedom and powerful features, but it comes with a steep learning curve. Unless you have web design experience or are willing to invest serious time learning the platform, you'll likely need professional help.
You can check out our other article for a deeper dive into each recommended platform and their specific features for real estate websites.
4. Choose Your Development Path
You have two main options for actually building your site, and your choice depends on your budget, timeline, and how unique you want your website to be.
Option A: Use a Website Template
After choosing your website builder, browse through the available templates and select one that fits your brand and business needs. Templates are pre-designed website layouts that you can customize with your own content, colors, and images.
In Squarespace and Framer, setting up templates doesn't involve a lot of technical work. You'll mostly be swapping out placeholder content for your own information, adjusting colors to match your brand, and uploading your photos. The platforms handle the technical heavy lifting for you.
However, if you're working with Webflow, you'll likely need to hire a Webflow developer to help you set up a template properly. The platform's complexity means that even customizing a template can involve intricate settings and interactions that aren't beginner-friendly.
If you need help choosing a template, we handpicked our favourites in another post on the best real estate website templates.
Option B: Build a Custom Website
If you prefer a truly custom website that's built from scratch, you'll need to hire developers to help you build a complete custom real estate website. This approach ensures your brand stands out from every other agent using the same template.
Custom development costs more and takes longer, but it may be more optimal for bringing results to your business. You get exactly what you envision, with custom features, unique layouts, and functionality tailored specifically to how you work and what your clients need. If you're serious about making your website a major lead generation tool, the investment often pays for itself.
5. Structure Your Website
How you organize your real estate website directly impacts whether visitors become clients. Your navigation should be clean and intuitive, making it easy for potential buyers and sellers to find what they need.
Essential Pages and Navigation
Your main navigation should include these core pages:
- Home - Your landing page that clearly communicates who you are and what you do
- About - Your story, credentials, and why clients should choose you
- Listings - Current properties you're representing (we'll cover this in detail shortly)
- Neighborhoods - Local area guides that demonstrate your expertise
- Blog/Resources - Helpful content for buyers and sellers
- Contact - Multiple ways to reach you, including a contact form
Keep your navigation menu to 5-7 items maximum. If you have more pages, organize them under dropdown menus or in your footer.
Design & Conversion Rate Best Practices
Keep your design simple and professional. Here are the essentials:
- Fonts: Stick to 1-2 fonts maximum. Use one for headings and one for body text. Avoid overly decorative fonts that are hard to read.
- Colors: Your brand colors should be consistent throughout the site. Use neutral backgrounds (white, light gray) with your brand colors for accents and CTAs. High contrast between text and background makes reading effortless.
- Photos: This is crucial for real estate. Use high-quality, professional photos exclusively. Blurry smartphone shots or generic stock photos kill credibility. Invest in professional photography for your headshots, office, and any properties you're showcasing.
- White Space: Don't cram everything together. Give your content room to breathe. White space makes your site look modern and helps important elements stand out.
- Mobile Responsiveness: Over 60% of real estate searches happen on mobile devices. Your site must look and function perfectly on phones and tablets. Test it thoroughly on multiple devices before launching.
- Call To Actions: Use strong, action-oriented CTA buttons. Instead of generic "Submit" buttons, use specific language like "Get Your Home Valuation" or "Start Your Search." Make forms as short as possible while gathering the information you need.
- Social Proof: Include social proof throughout your site. Client testimonials, recent sales, years of experience, and professional certifications all build trust and encourage visitors to reach out.
6. Handling Property Listings
How you display listings can make or break your website's effectiveness. You have two main methods, each with distinct advantages and limitations.
Method 1: IDX Integration
IDX (Internet Data Exchange) software displays MLS listings directly on your website. This gives visitors access to thousands of properties in your area, not just the ones you're personally representing.
The convenience is undeniable. IDX automatically updates listings, showing accurate availability, pricing, and details. Visitors can search, filter, and save properties without leaving your site. We recommend using IDX Broker due its customization capabilities.
However, IDX comes with drawbacks. Monthly fees range from $40 to several hundred dollars depending on features. The design options are often limited and may not match your website's aesthetic perfectly. Most importantly, IDX-driven traffic doesn't always convert well because visitors are often just browsing without serious intent.
Method 2: Custom CMS Database
The second method uses your website builder's own CMS (Content Management System) to create a custom database of listings. You manually add properties with custom layouts, descriptions, and photo galleries that perfectly match your site's design.
This method only allows you to show listings that you own the content of. You can't upload MLS listings that belong to other agents or any that you don't own due to MLS regulations. But you have complete design control and can create stunning, unique property pages that showcase your listings better than any IDX template.
Our Recommendation
We don't recommend using IDX unless you're a brokerage that gets tons of website traffic. For individual agents or smaller teams, the ROI often isn't there. The monthly cost, combined with the fact that most IDX visitors are tire-kickers, means it may do more harm than good to your marketing budget.
Instead, focus on creating beautiful pages for your own listings using your website builder's CMS. Supplement this with a strong blog and neighborhood content that attracts serious buyers and sellers who are ready to work with an agent.
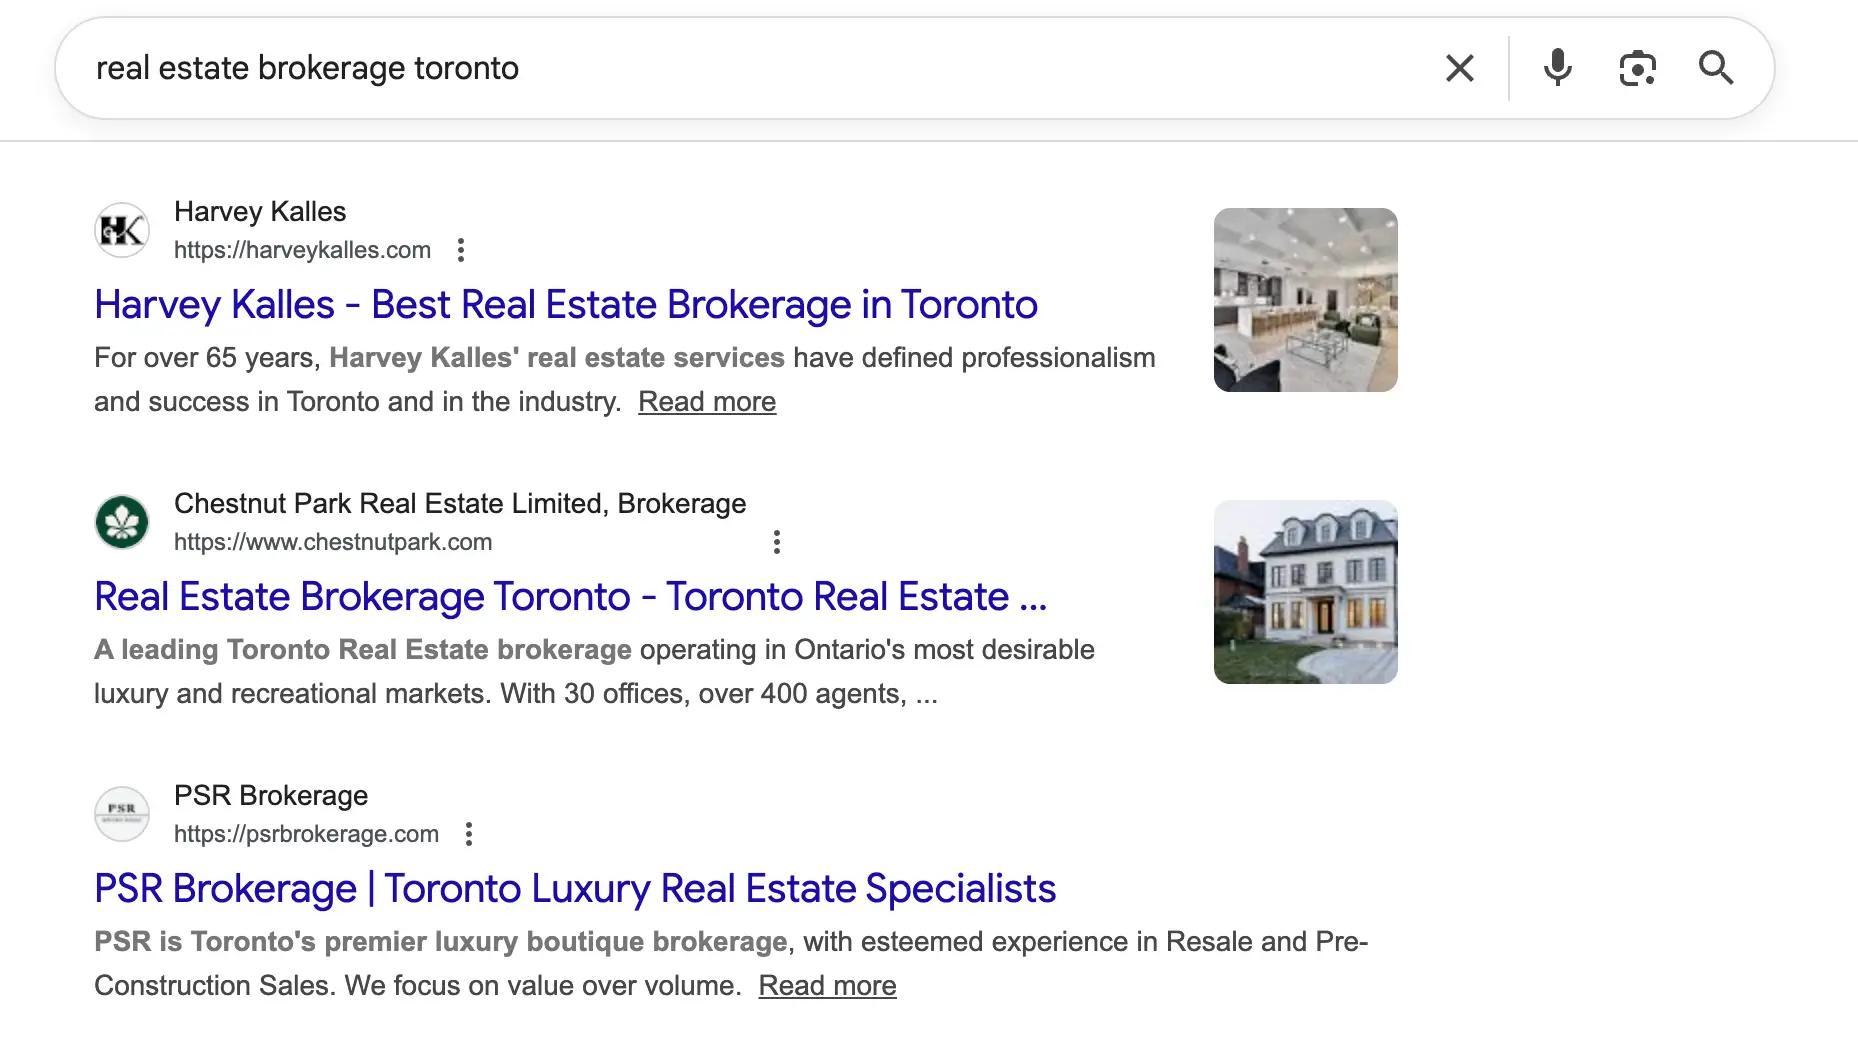
7. Optimize for Local SEO
Building your website is just the beginning. If potential clients can't find you on Google, your beautiful site sits empty. Local SEO (Search Engine Optimization) ensures you show up when people search for real estate services in your area.
- Make sure the target keyword should be mentioned at least once in the page title and its content, but do not keyword stuff your site (will lead to penalization).
- Inside your website, make sure there are no bugs, broken links, or error pages.
- Your site needs to be easy to navigate with clear menus and logical page organization.
- Pages should load fast, ideally in under three seconds.
- Make sure your images are compressed (under 200kb) and preferably use a .webp format.
- Compress images, enable browser caching, and minimize code where possible. A smooth user experience signals to Google that your site deserves higher rankings
- Run your site through Google's PageSpeed Insights tool and fix any issues it identifies.
8. Install Essential Integrations
Your website needs the right tools to monitor performance, track visitors, and measure success. These integrations give you the insights to continuously improve your results.
SEO Monitoring Tools
Set up Google Search Console immediately. This free tool shows you exactly which keywords are bringing people to your site, how often you appear in search results, and any technical issues Google finds with your site.
Create free accounts with SEMrush and Ahrefs to monitor your SEO performance over time. These platforms help you track keyword rankings, discover new content opportunities, and spy on what's working for your competitors.
Analytics and CRM Integration
Integrate Google Analytics to understand who's visiting your website, how they found you, what pages they view, and how long they stay. This data reveals which marketing efforts are working and which pages might need improvement.
Connect your CRM (Customer Relationship Management) system to your website to automatically capture leads and track their journey. When someone fills out a contact form or requests a home valuation, that information flows directly into your CRM for follow-up.
Google Tag Manager
Here's a professional tip: install all your integrations through Google Tag Manager rather than adding direct code snippets into your website.
Tag Manager gives you much more control over how integrations work, makes it easy to add or remove tools without touching your website code, and helps prevent conflicts between different tracking scripts.
Set up Tag Manager once, then manage all your tracking codes, analytics, and pixels from a single dashboard. Your website stays clean, loads faster, and you maintain better control over your data collection.
9. Promotion & Generating Leads
Create Your Google Business Profile
First things first: create a Google Business Profile and fill out every single field. Add your business hours, service areas, categories, and a detailed description. Upload high-quality photos of your office, team, and recent work.
Ask your past clients for proper testimonials, not just five stars.
Reviews with detailed experiences about your responsiveness, expertise, and results carry exponentially more weight for ranking high in local search results. Google wants to see authentic, substantive reviews.
List in Local Directories
List your business in every relevant local directory. This includes Yelp, Zillow, Realtor.com, Facebook, LinkedIn, and local chamber of commerce websites. Avoid the low-quality spam directories, but get listed everywhere legitimate.
Make absolutely certain your name, address, and phone number (NAP) are consistent from your website to every single directory where you're listed. Even small variations confuse Google and hurt your rankings. Google will be more likely to trust you and rank your site higher when it sees consistent information across the web.
Create Local Content
This is where you separate yourself from the competition. We highly recommend creating local content that attracts buyers and sellers to your website.
Use keyword research keywords that people are searching for in your local area. We like using Ahrefs free SEO tools for this, or you can use Google's auto-suggest feature and look at the "People Also Ask" section in search results.
Write neighborhood guides that go beyond basic statistics. Share insights about local schools, upcoming developments, hidden gems, and community events. Create buyer and seller guides specific to your market. Answer common questions about the local real estate process.
This content positions you as the local expert while bringing consistent organic traffic to your site. When someone searches "what's it like living in [neighborhood]," your in-depth guide should be the answer they find.
Closing It Off
Building a real estate website might seem overwhelming at first, but when you break it down into these clear steps, it becomes entirely manageable. Start with your branding, secure your domain, choose the right platform for your skill level, and build methodically.
Remember that your website is never truly finished. It's an asset that should evolve as your business grows and as you learn what resonates with your audience. Monitor your analytics, test different approaches, and continuously improve based on real data.
The agents who succeed online are the ones who treat their website as a core business tool, not just an online business card. Invest the time and resources to build it right, and your website will become one of your most valuable lead generation tools for years to come.
Need Expert Help?
Building a real estate website that truly performs takes expertise, strategic planning, and an understanding of what converts visitors into clients. If you want a website that stands out from the competition and drives real results for your business, we're here to help.
Our team specializes in creating custom real estate websites designed specifically for real estate brands who are serious about growing their business online. We handle everything from brand strategy and design to SEO optimization and integrations, so you can focus on what you do best: closing deals.
Get in touch with us today to discuss your real estate web design project. Whether you need a complete custom build or want to optimize your existing site for better performance, we'll create a solution tailored to your goals and budget.
We partner with real estate brands across North America to develop and execute strategic marketing solutions that attract buyers, sellers, and investors.